

Looking back at history, it’s very interesting to see how software has evolved. From the days where interacting with software was as simple as giving responses to the ‘questions’ our program asked (Kinda like ping-pong, right?). Today we have super complex software that could not be possible without having good UI. But even though we have really great interfaces today, there are a lot of programs that only have a command line interface, and they do their job pretty well. I personally use quite a lot of them. But, what do you do when your application needs a Graphical User Interface (GUI)?
Ruby has a variety of libraries for creating graphical interfaces. We will focus on one of the most used, Shoes.
Ruby Shoes!
Shoes is amongst the most used libraries for creating GUI applications. Shoes has some interesting history behind it, you can learn more about that here.
Searching on the web for shoes can be a bit confusing. Shoes, being open source (MIT / Open source), has different forks. We will be using the official version: Shoes 3.3.1.
Installing Shoes
Installing it directly from the RubyGems repository will give us an older version of Shoes. We will have to get it directly from the Shoes download page. Download the version for your operating system.
We will have to make the file executable:
chmod +x shoes-3.3.1-gtk3-x86_64.install
And then run:
./shoes-3.3.1-gtk3-x86_64.install
Shoes will be copied to your home direoctory/.shoes/walkabout. Alos, if you don’t see Shoes in the menu, logout and login.
Introduction to Shoes
Let’s create a file named example.rb, with the following code:
Shoes.app { button "Click me" }
To run this app we will need to use the Shoes Walkabout program we installed earlier.
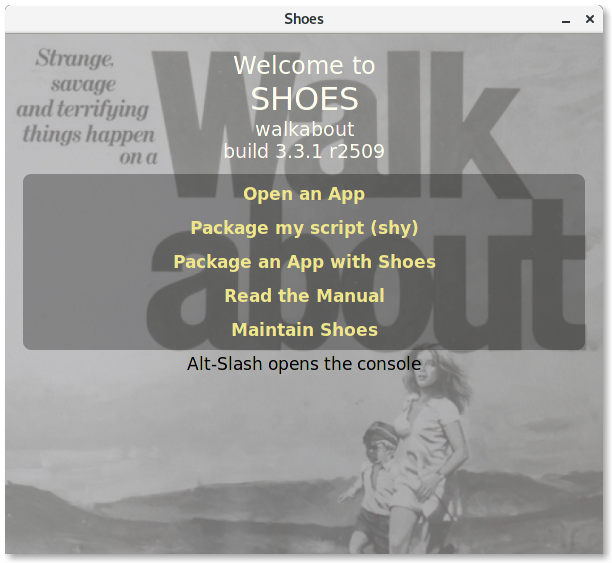
Depending on the operating system you use, Shoes will be where your applications are installed. Click on Open an App and open the file we just created example.rb
This will run our application:

With just one line of code, it is possible to create a window with a button. That sounds quite Ruby-like, right?
There is also another way to run our applications, we will use that throughout this tutorial. Open up your terminal and enter this:
~/.shoes/walkabout/shoes example.rb
This will open our example application directly.
Shoes Samples
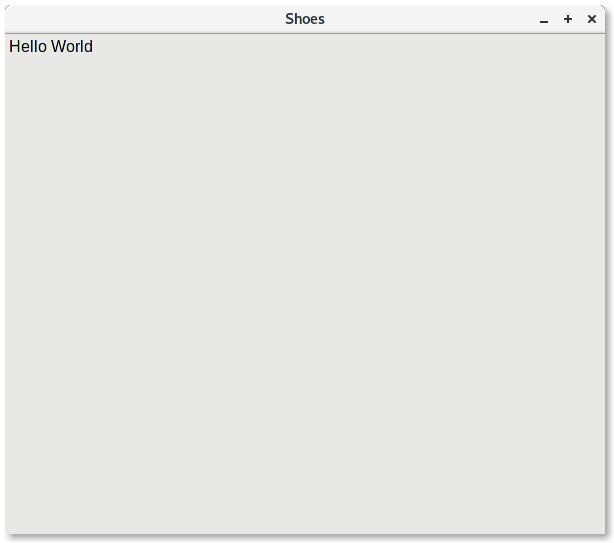
Besides creating a window and a button, Shoes has a lot more power. Let’s get some basics done first. The Hello World tradition can also be completed in Shoes. First, start with the Shoes.app loop which creates the window/canvas, this is the place where we add all our elements.
example.rb:
Shoes.app do
  para "Hello World"
end
para is one of the elements of Shoes, it stands for paragraph. Run example.rb
~/.shoes/walkabout/shoes example.rb
You can also make the text appear in different styles (strong, em, code):
para strong "Hello World"
Will make the text appear bold. There are so many more options to manipulate with text, you might want to check the docs for more details.
Layout
The layout is one of the important things you need to learn for Shoes. The layout controls how your components are presented in the application. In Shoes, we have two kinds of layouts: Stacks and Flows.
Stack

Imagine a stack as a pile of books, every element you add goes under the other.
Shoes.app do
  stack do
    para strong "I am the FIRST element of the stack"
    para strong "I am the SECOND element of the stack"
    para strong "I am the THIRD element of the stack"
  end
end
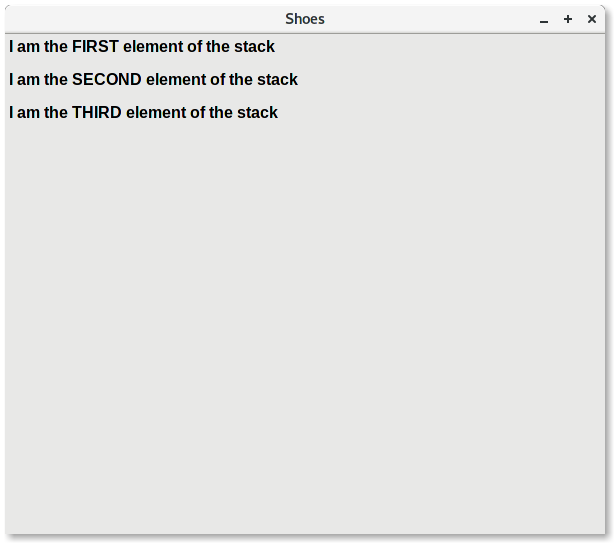
As you might see, every paragraph is below the previous paragraph, just like our stack of books example. Also note the strong tag to make the paragraphs look bold.
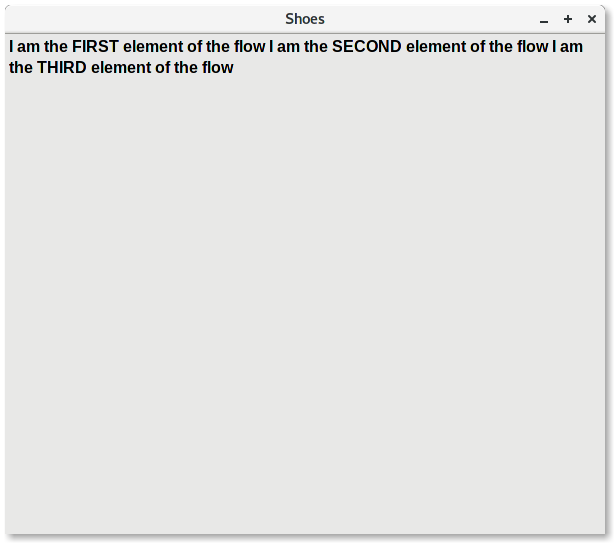
Flow
Different from stacks, flow tries to fill the container side-to-side until it fills up:
Shoes.app do
  flow do
    para strong "I am the FIRST element of the flow"
    para strong "I am the SECOND element of the flow"
    para strong "I am the THIRD element of the flow"
  end
end
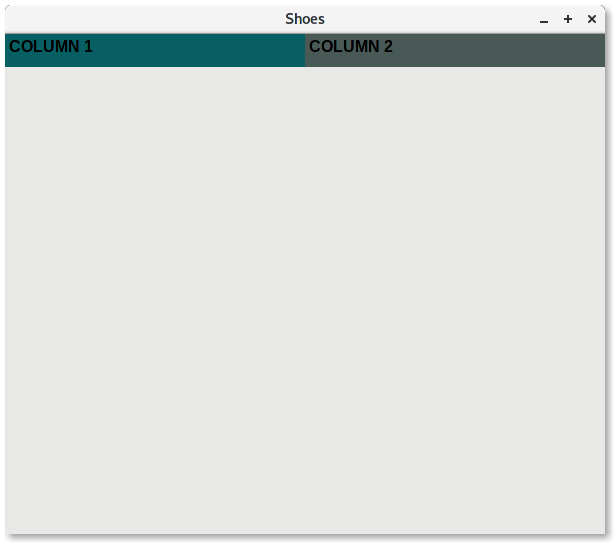
Depending on the application you are building, there are different uses of Stacks and Flows. There might be situations that you will need to use both of them (yes, it is possible!). Here’s an example of a grid with two columns:

This is done by having one flow and two stacks, dividing their width:
Shoes.app do
  flow do
    stack width: "50%" do
      background "#075f63"
      para strong "COLUMN 1"
    end

    stack width: "50%" do
      background "#485956"
      para strong "COLUMN 2"
    end
  end
end
Stacks and Flows allow you to position elements in a nice way, but you can use a more specific way to place your elements. There are options like :top, :left, and :margin. You can also adjust your elements size with width and height.
Twitter with Shoes
Let’s build a simple Twitter application with some basic functionality and see Shoes running! We will need the Twitter gem, a Ruby interface to the Twitter API:
gem install twitter
Create a file called app.rb, which will be our file for the next part of the tutorial. Start by creating a class named TwitterApp that inherits from the Shoes class:
require 'twitter'
class TwitterApp < Shoes
end

Shoes.app title: "Twitter", :width => 500, :margin => 5, resizable: false
Note that we are setting the title with title: and we are adding a new option, resizable: to false, so the window is not resizable.
Let’s try and run the app now:
$ ~/.shoes/walkabout/shoes app.rb
cannot load such file -- twitter
We just installed the twitter gem but it’s not finding it. Shoes manages its own gems, so any gems that are installed on our system can’t directly be used in our applications. There are two ways we can fix this.
Add this in top of our file:
Shoes.setup do
  gem 'twitter'
end
It will install all gems we define there, even if they are not in our system installed. On the other hand, we can use the command line shoes app:
$ ~/.shoes/walkabout/shoes -g install twitter
You can also use this to list all the gems that are available to Shoes:
$ ~/.shoes/walkabout/shoes -g list -l
Now if we run our application we will see an empty window, which is just what we want at this point.
We want to have different screens for different functionality. One screen could be creating a tweet, the other could be something that lets us search for tweets. We can define those screens with the url option. We will create three screens: One for the home screen of the app, the other two will be for creating a tweet and searching for tweets.
url "/", :home
url "/CreateTweet", :CreateTweet
url "/SearchForTweets", :SearchForTweets
Twitter API
Lets register our app with Twitter first. Head over to Twitter Apps and click on the Create New App button.

Fill in the fields of the form with details about your application. Ignore the Callback URL since we will not use OAuth in this tutorial. Switch to the Keys and Access Tokens tab, copy the Consumer Key (API Key) and Consumer Secret (API Secret). On the same page, click on Generate my access token. Copy the Access Token and Access Token Secret. We will need those four values.
Add the Twitter REST Client code before the part where we used url for our screens:
...............

$client = Twitter::REST::Client.new do |config|
  config.consumer_key        = "**FocAmowbEcFocAmowbEcFocAmowbEcFocAmowbEc**"
  config.consumer_secret     = "tiosjeOk1LJFVUOT4mz8EB0br6dScPCp27bk92P84JK"
  config.access_token        = "tiEgBqkNjbJKC8mrUwv5mAC7UGavfhWh"
  config.access_token_secret = "VYpAjjENGtiEgBqkNjbwxbrOsWLOCgCaTmTJrwFDWBMP8"
end
................
url "/", :home
url "/CreateTweet", :CreateTweet
url "/SearchForTweets", :SearchForTweets
NOTE: These tokens should be stored in a secret file and never be public, we are doing it this way just for tutorial.
Now we need to define those screens:
def home

end


def CreateTweet

end


def SearchForTweets

end
This is the skeleton of our application. The home screen will always be the first one, so even if you would run the application now, you will only get the first screen. We will use buttons to direct them to other screens. I will paste my code for each of the screen and explain parts of it.
home screen:
def home
  background "#333", width: 50
  stack displace_left: 50 do
    image "static/twitter_logo.svg.png", margin_left: 100, margin_top: 10
    flow margin_left: 70, margin_top: 5 do
      button "Create Tweet", margin: 5, width: 110 do visit '/CreateTweet'end
      button "Search For Tweets", margin: 5, width: 145 do visit '/SearchForTweets' end
    end
  end
end
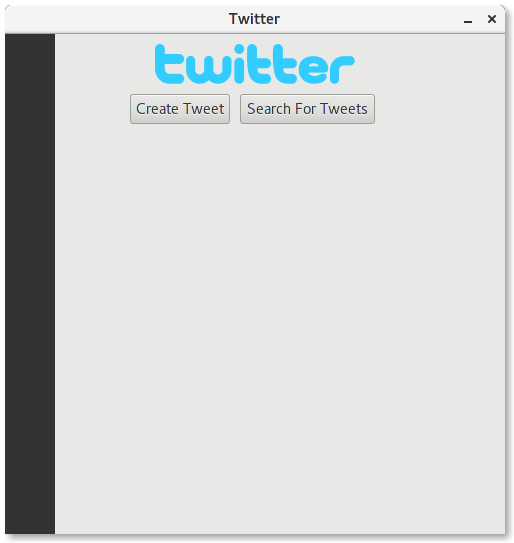
Adding an image is very easy, you just add the image element and insert the path of the image. We previously mentioned that buttons will point our app to different screens. Don’t forget we defined /CreateTweet in the beginning:
button "Create Tweet" do visit '/CreateTweet'end
CreateTweet screen:
def CreateTweet
  background "#333", width: 50
  stack displace_left: 50  do
    image "static/twitter_logo.svg.png", margin_left: 100, margin_top: 10
    @input = edit_line text: "Write your tweet!", margin_left: 100, margin_top: 15
    flow margin_left: 120, margin_top: 5 do
      button "Tweet", :margin => 5 do
        puts "Trying to tweet..."
        $client.update(@input.text)
      end
      button "Back", margin: 5 do visit '/'end
    end
  end
end
We are using edit_line to get input from users and store it in a variable. The button element will be used to tweet now, using the update method from the twitter gem.
SearchForTweets screen:
def SearchForTweets
  background "#333", width: 50
  stack displace_left: 50 do
    image "static/twitter_logo.svg.png", margin_left: 100, margin_top: 10
    @input = edit_line text: "Search for Tweets", margin_left: 100, margin_top: 15
    flow margin_left: 120, margin_top: 5 do
      button "Search", margin: 5 do
        $client.search(@input.text, result_type: "recent").take(3).each do |tweet|
          para  tweet.text + "\n\n", :stroke => "#1da1f2", margin_left: 51
        end
      end
      button  "Back", margin: 5 do visit '/' end
    end
  end
end
Using the same code, we just switched from creating tweets to searching for them. The search method requires another parameter for search (mixed, recent, or popular). There’s an added escape character to make it look a bit nicer \n\n and we are limiting to show just 3 searches with .take(3).each.
If you encounter an SSL problem, you can disable it with this line, however, it’s not recommended. This is the only fix I have found:
OpenSSL::SSL::VERIFY_PEER = OpenSSL::SSL::VERIFY_NONE
Add it on top of the line, after the class declaration.
Complete code:
Shoes.setup do
  gem 'twitter'
end

require 'twitter'

class TwitterApp < Shoes

  OpenSSL::SSL::VERIFY_PEER = OpenSSL::SSL::VERIFY_NONE


  $client = Twitter::REST::Client.new do |config|
    config.consumer_key        = "**FocAmowbEcFocAmowbEcFocAmowbEcFocAmowbEc**"
    config.consumer_secret     = "tiosjeOk1LJFVUOT4mz8EB0br6dScPCp27bk92P84JK"
    config.access_token        = "tiEgBqkNjbJKC8mrUwv5mAC7UGavfhWh"
    config.access_token_secret = "VYpAjjENGtiEgBqkNjbwxbrOsWLOCgCaTmTJrwFDWBMP8"
  end

  url "/", :home
  url "/CreateTweet", :CreateTweet
  url "/SearchForTweets", :SearchForTweets

  def home
    background "#333", width: 50
    stack displace_left: 50 do
      image "static/twitter_logo.svg.png", margin_left: 100, margin_top: 10
      flow margin_left: 70, margin_top: 5 do
        button "Create Tweet", margin: 5, width: 110 do visit '/CreateTweet'end
        button "Search For Tweets", margin: 5, width: 145 do visit '/SearchForTweets' end
      end
    end
  end

  # Create tweets screen

  def CreateTweet
    background "#333", width: 50
    stack displace_left: 50  do
      image "static/twitter_logo.svg.png", margin_left: 100, margin_top: 10
      @input = edit_line text: "Write your tweet!", margin_left: 100, margin_top: 15
      flow margin_left: 120, margin_top: 5 do
        button "Tweet", :margin => 5 do
          puts "Trying to tweet..."
          $client.update(@input.text)
        end
        button "Back", margin: 5 do visit '/'end
      end
    end
  end

  # Search for tweets screen

  def SearchForTweets
    background "#333", width: 50
    stack displace_left: 50 do
      image "static/twitter_logo.svg.png", margin_left: 100, margin_top: 10
      @input = edit_line text: "Search for Tweets", margin_left: 100, margin_top: 15
      flow margin_left: 120, margin_top: 5 do
        button "Search", margin: 5 do
          $client.search(@input.text, result_type: "recent").take(3).each do |tweet|
            para  tweet.text + "\n\n", :stroke => "#1da1f2", margin_left: 51
          end
        end
        button  "Back", margin: 5 do visit '/' end
      end
    end
  end
end

Shoes.app title: "Twitter", :width => 500, :margin => 5, resizable: false
Conclusion
Shoes is very simple. This post is just a short introduction on how fast you can create a GUI app using Shoes. You can also compile the same code on other operating systems using the Shoes Walkabout app. We will save that for another article.
Have you used Shoes for any application? If so, share it in the comments
Frequently Asked Questions (FAQs) about Creating a Twitter GUI Client with Shoes
What is a Twitter GUI client and why would I need one?
A Twitter GUI (Graphical User Interface) client is a software application that allows you to interact with Twitter in a more user-friendly and visually appealing manner. It provides a graphical interface for you to send tweets, follow other users, and perform other Twitter-related tasks. If you’re a developer or a tech-savvy individual, creating your own Twitter GUI client can give you more control over your Twitter experience, allowing you to customize features according to your preferences.
What is Shoes and why is it used to create a Twitter GUI client?
Shoes is a tiny graphics toolkit that allows you to build simple graphical applications in Ruby. It’s lightweight, easy to use, and perfect for beginners. Shoes is used to create a Twitter GUI client because it simplifies the process of creating graphical interfaces, making it easier for developers to focus on the functionality of the client.
How can I install Shoes on my computer?
You can download Shoes from the official website. Once downloaded, you can install it like any other software. The installation process may vary depending on your operating system. Detailed installation instructions are provided on the Shoes website.
How do I authenticate my Twitter GUI client with Twitter?
To authenticate your Twitter GUI client with Twitter, you need to create a new application on the Twitter Developer website. Once you’ve created the application, you’ll receive a set of keys and tokens. These are used to authenticate your client with Twitter.
Can I customize the appearance of my Twitter GUI client?
Yes, you can customize the appearance of your Twitter GUI client. Shoes provides a variety of methods for customizing the look and feel of your application, including changing the color scheme, font, and layout.
How can I add more features to my Twitter GUI client?
You can add more features to your Twitter GUI client by writing additional code. For example, you could add a feature that allows you to schedule tweets, or a feature that filters tweets based on certain criteria. The possibilities are endless!
Can I share my Twitter GUI client with others?
Yes, you can share your Twitter GUI client with others. However, you should be careful not to share your authentication keys and tokens, as these are linked to your Twitter account.
What should I do if I encounter an error while creating my Twitter GUI client?
If you encounter an error while creating your Twitter GUI client, you should first try to understand the error message. If you’re still stuck, you can seek help from the Shoes community or from online programming forums.
Can I use Shoes to create GUI clients for other social media platforms?
Yes, you can use Shoes to create GUI clients for other social media platforms. However, the process may vary depending on the platform’s API.
Where can I learn more about Shoes and creating GUI clients?
You can learn more about Shoes and creating GUI clients from the official Shoes website, online programming tutorials, and programming books.
 Ardian Haxha
Ardian is a web developer with a focus on building data-driven back-end APIs. He is very engaged with open source communities such as the Fedora Project and Mozilla.


